Click on the "Additional Customization" tab that appears in the lower section of the Customize window, then chose the "Footer" tab.
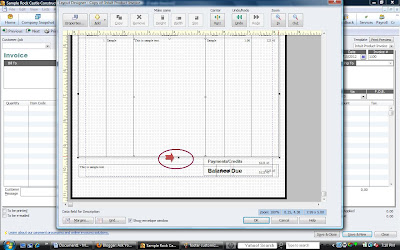
Check the "Payments/Credit" box and the "Balance Due" box. Quickbooks will tell you that you are creating fields that will overlap. Chose the "Continue" button on this warning. The preview screen will show you the new boxes overlapping the body of the invoice. From here chose the "Layout Designer" button. With the Layout Designer you can move and re-size the data and title boxes in the invoice form as desired.
In the Layout Designer click on the part of the invoice you want to modify. You will see it highlited with the central boxes to make the box smaller or larger. Resize the body of the invoice to fit above the Payments/Credits box.
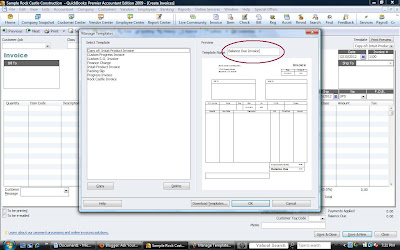
Once you have re-sized all the fields and nothing overlaps, click "ok". You will be returned to the Customize window. Review what your invoice will look like in the preview box. If you wish to modify it further, simply chose the Layout Designer button again and continue with your modifications. From here chose the "Manage Templates" button at the top of the Basic Customization window. Click on the Template Name and rename the copy invoice as desired, then click "ok".

Once the preview in the Customize window meets with your satisfaction click "ok".
This material is for informational
purposes only and not intended and financial, legal or tax advice.
Please consult your finance, legal or tax professional to confirm the
accuracy of all information. Quickbooks is a registered product of
Intuit.


No comments:
Post a Comment